How To Place Cantilever Supports Using Stretch Mode
The following example was created in the Support Model.dgn file, which is included with the sample BESM_Imperial project.
- From the Support Frames toolbox, select the Braced Cantilever icon.
- Double click the pipe segment to be supported.
- When prompted to select a steel component, right-click to reject this option.
- When the Properties Dialog displays, click in the Frame Type field and select one of the options from the grid.
- Make sure in the Options section, the Placement Mode is set to Stretch.
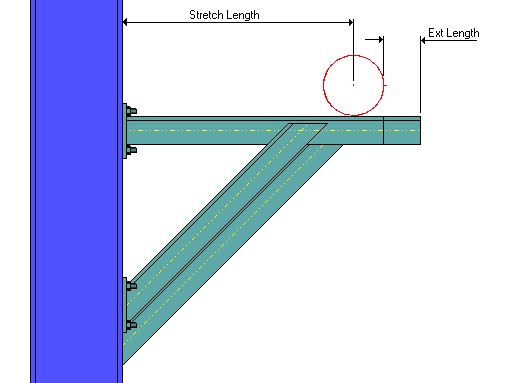
- Set a value for the Extension (Ext) Length. This is the length the cantilever beam will extend past the pipe it is supporting.
- Click OK.
- Use the mouse to move the cantilever image to the correct location along the pipe segment and left-click to accept.
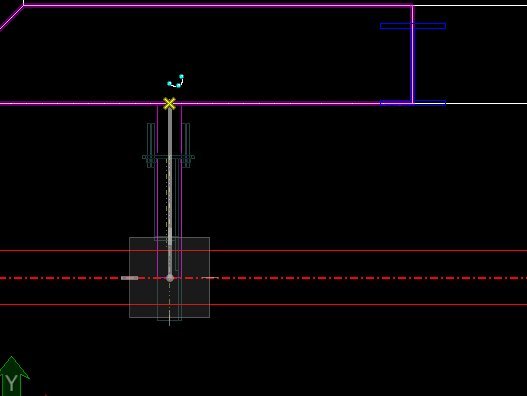
- Next, stretch the cantilever from the centerline of the pipe to the snap point on the structure it will be attached to. In this case, the cantilever will be attached to a supporting wall as shown below:
-
Left-click to accept the placement location and complete the placement.
The image below (in a right view) provides a good view of how the Braced Cantilever looks after placement: